Monday · Chicken thighs
Skin side down for seven minutes, flip, lid off, finish on medium-low. Lemon and thyme pan sauce.
Kitchen notes No. 07 · Technique
Method · Hybrid & stainless frypans · Serves the whole week
Chicken thighs that leave half their skin behind. Salmon that tears when you try to flip it. Here is the eight-step method that gets a deep golden crust in a hybrid frypan, and lets the food let go on its own.
Sponsored content from Chefaldia. Technique notes are general kitchen guidance; always follow your pan maker’s care instructions. Results vary with stovetop, oil and ingredients.
Sticking is not bad luck. When cold, wet protein meets metal that is not hot enough, the proteins bond to microscopic gaps in the surface before a crust has a chance to form. Nonstick coatings hide that problem for a year or two, then they start to wear and the problem comes back, usually along with a pan that needs replacing.
Hybrid frypans, like the Emura-style pans in our photos, take a different approach: a stainless body with a textured cooking face. You get the browning of steel with release that is closer to a coated pan, but only if you treat it like steel. That means heat first, then fat, then dry food, then patience. The method below is how our kitchen desk cooks in one every week.
Think of it as a sequence rather than a recipe. Each step removes one of the conditions that makes food grip the metal: cold, moisture, a pan that has not heated evenly, or impatience. Get the sequence right and most proteins, from chicken skin to haloumi, will lift off the pan on their own when the crust is ready.
“The pan is not the problem nine times out of ten. The preheat is.”Chefaldia kitchen desk
Tick things off as you set up. Your list is saved on this device.
0 of 8 ready
Pull the chicken or fish out of the fridge 15 minutes before cooking. Pat every surface dry with paper towel, then season with salt just before it goes in the pan. Surface moisture is the number one cause of sticking: water has to boil off before browning can begin, and during that time the protein sits in contact with the metal.
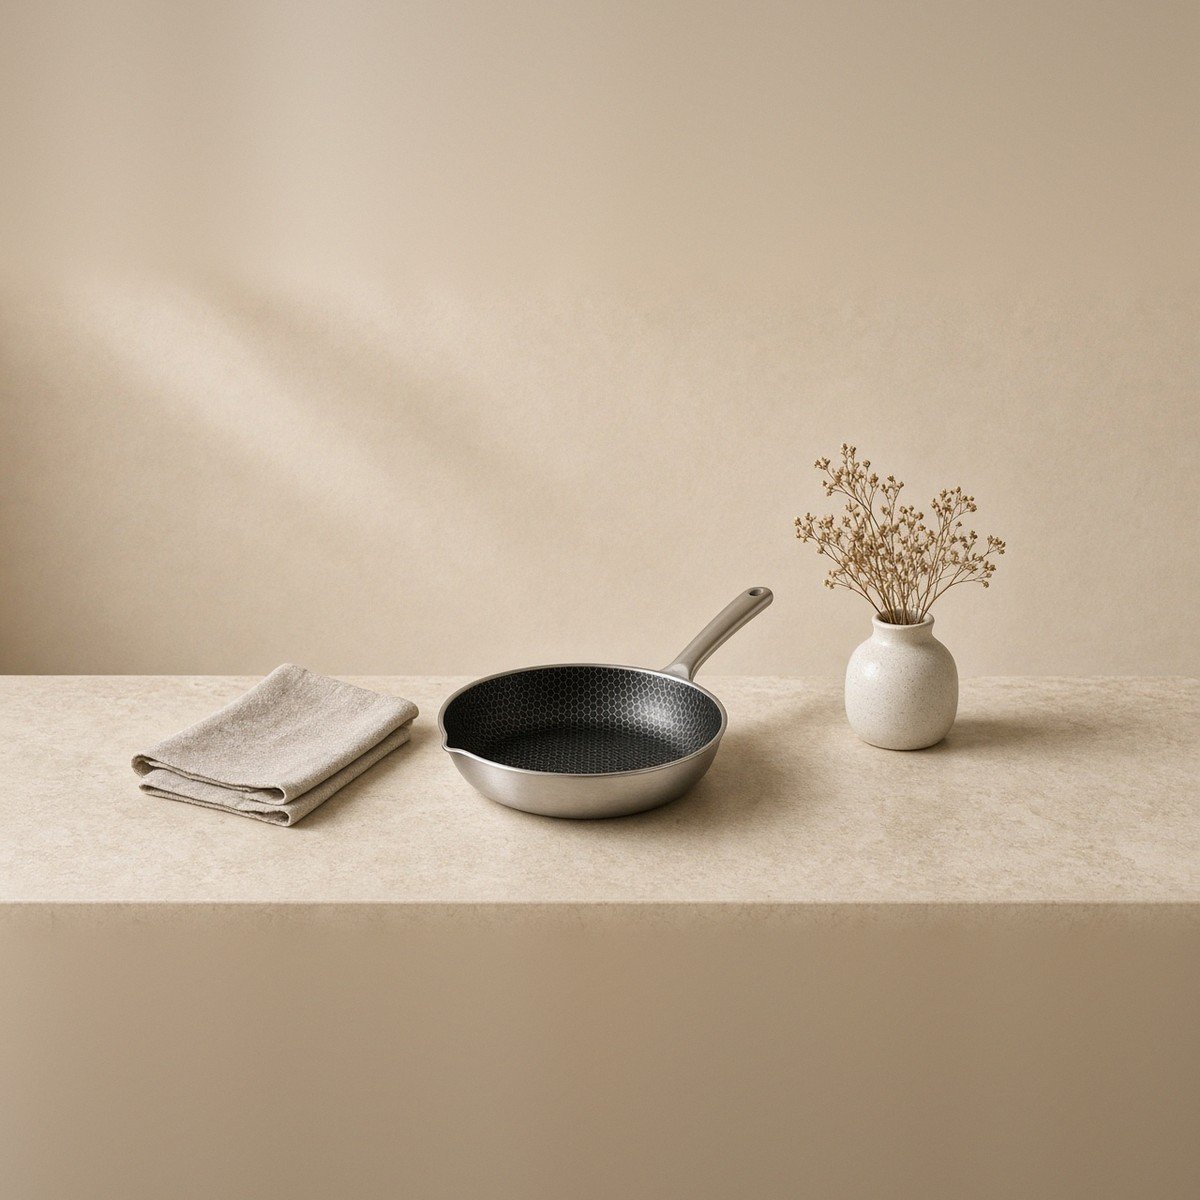
Put the dry pan on medium heat. Not high. On most gas and induction cooktops this takes two to three minutes for a 28 cm pan. A hybrid or stainless pan needs this time so the heat spreads evenly from the base up the walls. Rushing it on high heat creates hot spots that scorch in the middle and stick at the edges.
Flick a few drops of water into the pan. If they hiss and evaporate straight away, wait. If they gather into a bead that glides across the surface like a marble, the pan is ready. That gliding bead is a sign the surface is hot enough to form a layer of steam under food, which is what helps it release later.
Tip. On a textured hybrid surface the bead may skip between the raised pattern rather than gliding in one line. That is fine.
Wipe the water out, add a tablespoon of oil and tilt the pan so it covers the base in a thin film. Give it 20 to 30 seconds. When the oil shimmers and flows like water, the pan is at searing temperature. If it smokes heavily, take the pan off the heat for a moment.
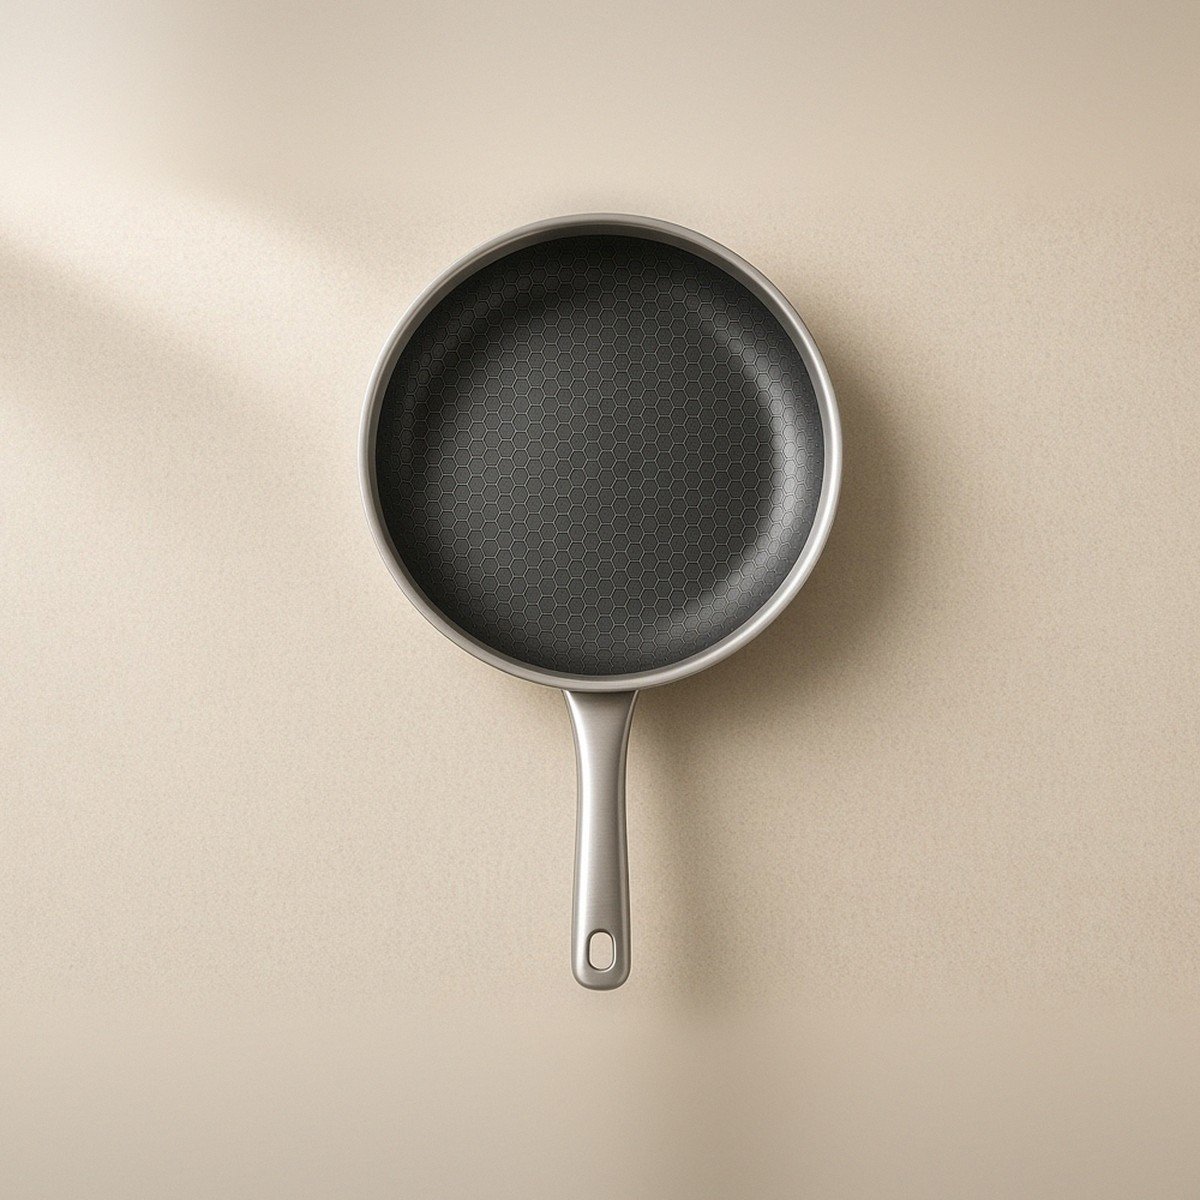
Place the protein skin or presentation side down, laying it away from your body to avoid splashes. Then the hardest part: do not touch it. Do not poke it, do not shuffle it, do not lift a corner to check. Chicken thighs need about six to eight minutes on the skin side; salmon about four.
When the crust has formed, the food releases by itself. Slide the spatula under one edge. If it resists, give it another minute. If it lifts cleanly with a golden underside, flip it. Turn the heat down a notch to finish cooking through, and check chicken reaches a safe internal temperature.
Remember. Sticking at this point usually means “not ready yet”, not “bad pan”.
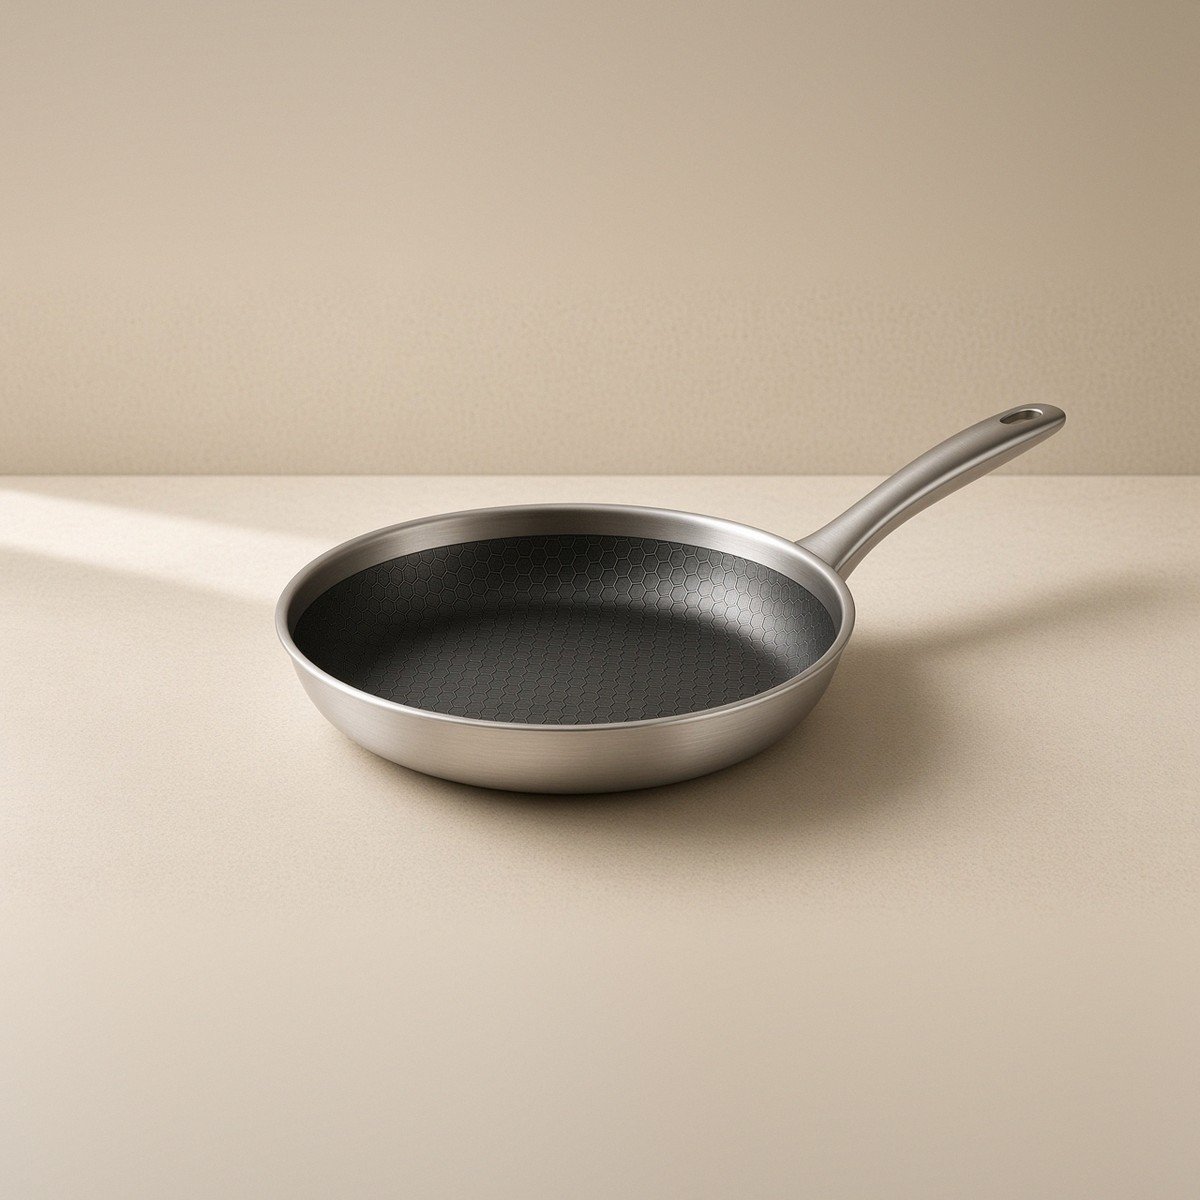
Rest the meat on a plate. Those brown bits left in the pan are flavour, not failure. Pour in a splash of stock or wine, scrape gently with a wooden spoon, add a knob of butter and a squeeze of lemon. Thirty seconds later you have a pan sauce, and a pan that is already half clean.
Let the pan cool for a few minutes so cold water does not shock the metal, then wash with warm soapy water and a soft brush. For any stubborn residue, simmer a little water in the pan for a minute and it should lift. Dry it on a low burner before storing.
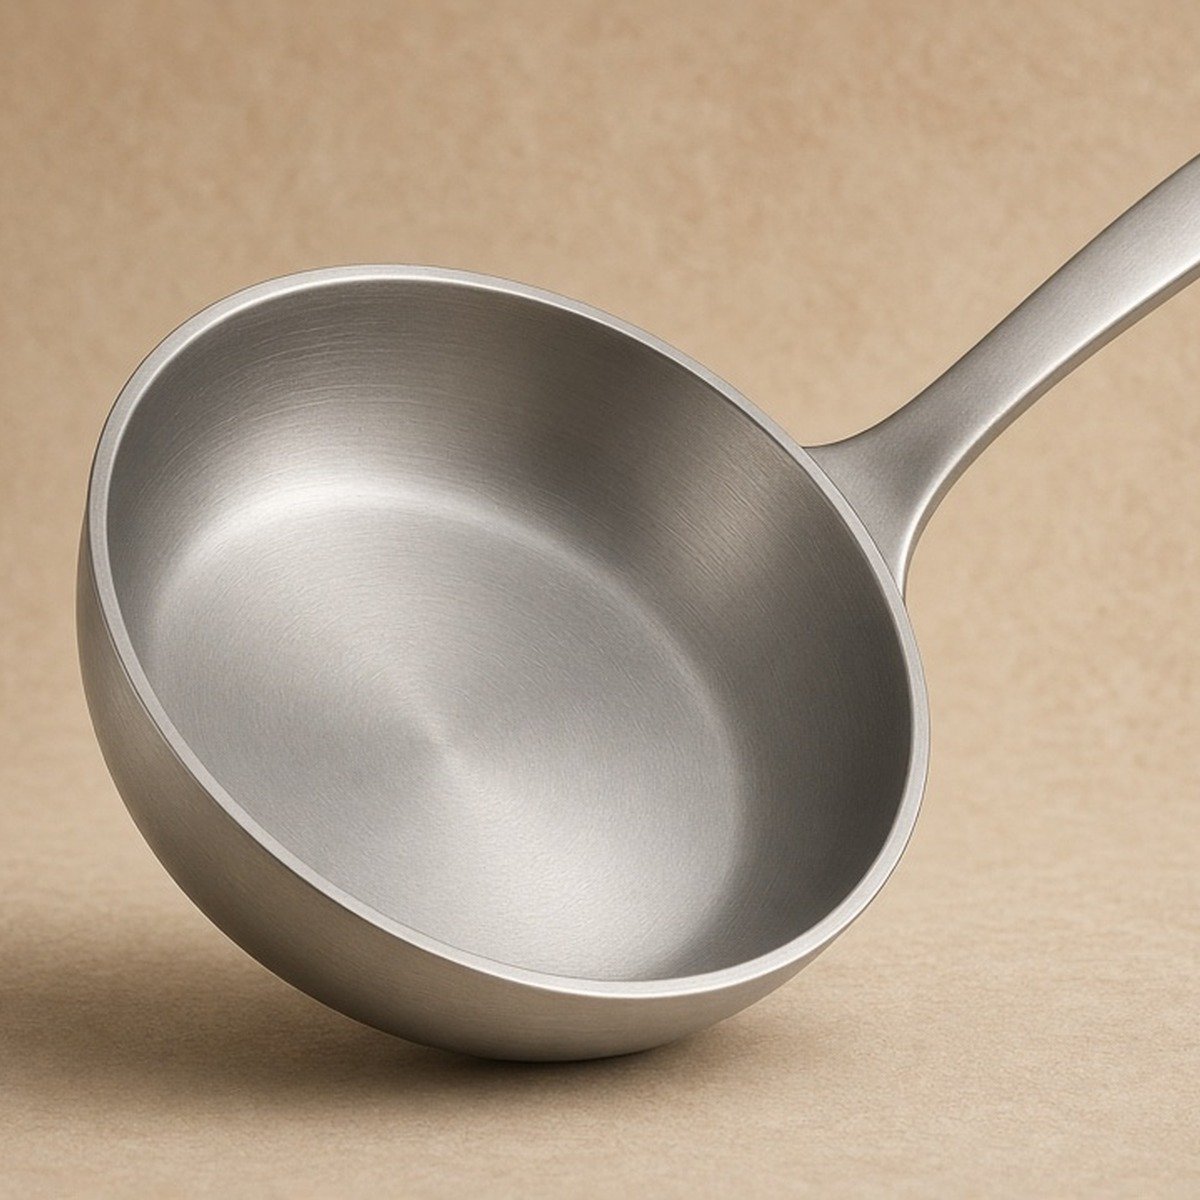
Skin side down for seven minutes, flip, lid off, finish on medium-low. Lemon and thyme pan sauce.
Dry the skin well, four minutes skin side, ninety seconds on the flesh. The skin should crackle.
Haloumi slices go into a shimmering pan and release in two minutes. Zucchini follows in the same oil.
Medium-high, press once, do not move them. The crust lets go when it is ready.
Do not crowd the pan. Four thighs in a 28 cm pan is the limit. Any more and the temperature drops, the meat releases water, and you end up steaming instead of searing.
Salt late. Salt draws moisture to the surface. Season just before the protein goes in, or at least 40 minutes ahead so the moisture has time to be reabsorbed.
Use the right spatula. A thin, flexible metal fish slice gets under a crust without tearing it. Check that your pan maker allows metal utensils on the cooking surface first.
| What happened | Likely cause | Try this |
|---|---|---|
| Food welded to the centre | Pan not preheated long enough | Repeat the droplet test before adding oil |
| Grey, steamed surface | Wet protein or a crowded pan | Dry thoroughly, cook in two batches |
| Skin tore on the flip | Flipped too early | Wait until it lifts with no resistance |
| Dark, smoky oil | Heat too high for the oil | Drop to medium, use a higher smoke-point oil |
| Brown film after washing | Polymerised oil residue | Simmer water, then a soft scrub |
Technique does most of the work, but the pan decides how forgiving it is. A thick, evenly clad base holds heat when cold food goes in, so the temperature does not collapse. A textured hybrid face gives the food slightly less contact with the metal, which helps release. And a pan without a coating to protect means you can sear properly without worrying about wearing it out.
That combination is why hybrid frypans keep appearing in Australian kitchens. Before buying, check the diameter, whether it suits your cooktop, its oven limit, and the return window.
Sponsored
See the Emura hybrid frypan, current sizes and pricing on the brand site.
See the Emura hybrid frypan Compare an AU specialty hybrid pan (HexClad AU)Sponsored outbound links. We may receive a commission if you buy through them, at no extra cost to you.
More from Chefaldia: the hybrid frypan story Australian kitchens keep opening →